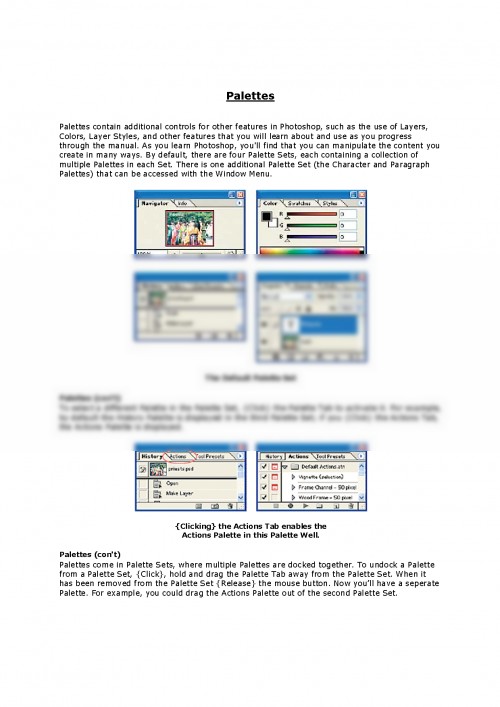
Palettes contain additional controls for other features in Photoshop, such as the use of Layers, Colors, Layer Styles, and other features that you will learn about and use as you progress through the manual. As you learn Photoshop, you'll find that you can manipulate the content you create in many ways. By default, there are four Palette Sets, each containing a collection of multiple Palettes in each Set. There is one additional Palette Set (the Character and Paragraph Palettes) that can be accessed with the Window Menu.
The Default Palette Set
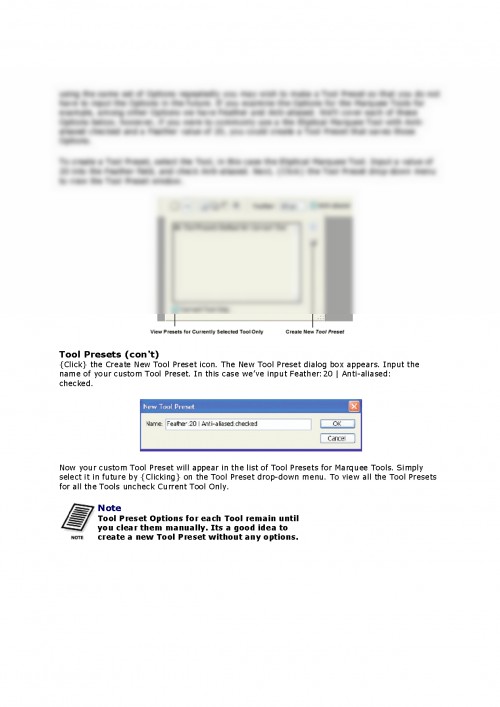
Palettes (con't)
To select a different Palette in the Palette Set, {Click} the Palette Tab to activate it. For example, by default the History Palette is displayed in the third Palette Set; if you {Click} the Actions Tab, the Actions Palette is displayed.
{Clicking} the Actions Tab enables the
Actions Palette in this Palette Well.
Palettes (con't)
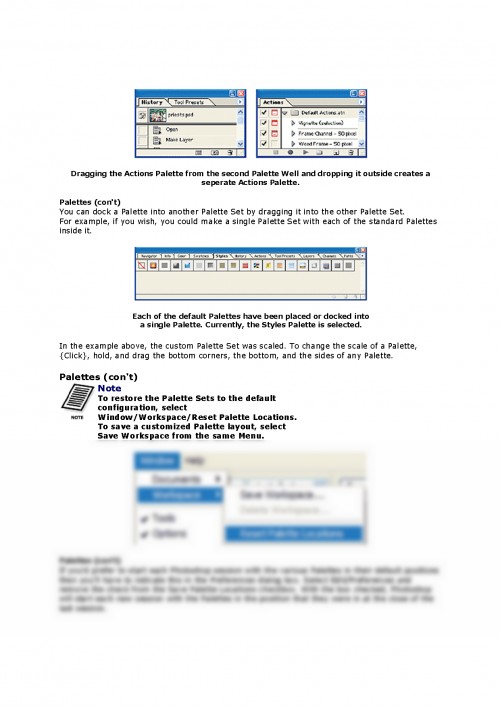
Palettes come in Palette Sets, where multiple Palettes are docked together. To undock a Palette from a Palette Set, {Click}, hold and drag the Palette Tab away from the Palette Set. When it has been removed from the Palette Set {Release} the mouse button. Now you'll have a seperate Palette. For example, you could drag the Actions Palette out of the second Palette Set.
Dragging the Actions Palette from the second Palette Well and dropping it outside creates a seperate Actions Palette.
Palettes (con't)
You can dock a Palette into another Palette Set by dragging it into the other Palette Set.
For example, if you wish, you could make a single Palette Set with each of the standard Palettes
inside it.
Each of the default Palettes have been placed or docked into
a single Palette. Currently, the Styles Palette is selected.
In the example above, the custom Palette Set was scaled. To change the scale of a Palette, {Click}, hold, and drag the bottom corners, the bottom, and the sides of any Palette.
Palettes (con't)
Note
To restore the Palette Sets to the default configuration, select Window/Workspace/Reset Palette Locations. To save a customized Palette layout, select Save Workspace from the same Menu.
Palettes (con't)
If you'd prefer to start each Photoshop session with the various Palettes in their default positions then you'll have to indicate this in the Preferences dialog box. Select Edit/Preferences and remove the check from the Save Palette Locations checkbox. With the box checked, Photoshop will start each new session with the Palettes in the position that they were in at the close of the last session.
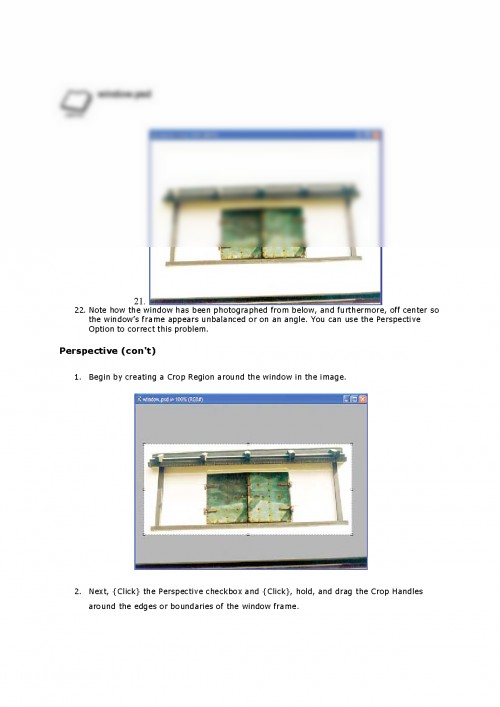
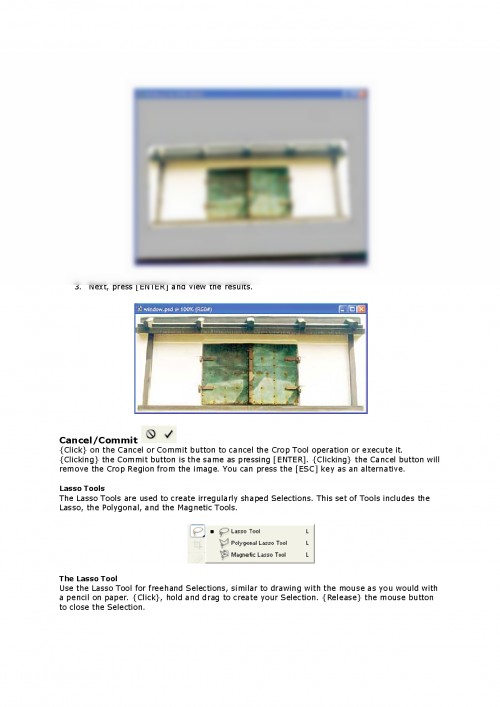
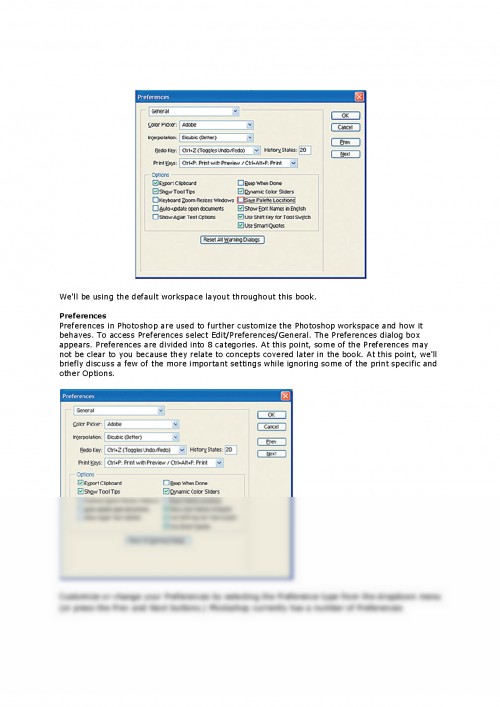
We'll be using the default workspace layout throughout this book.
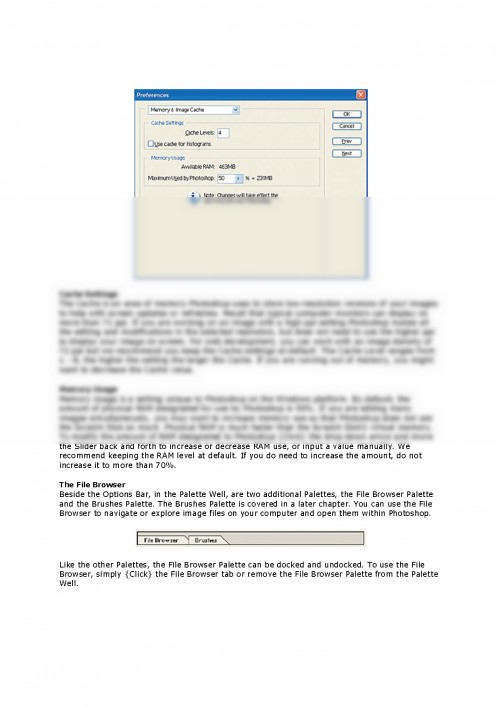
Preferences
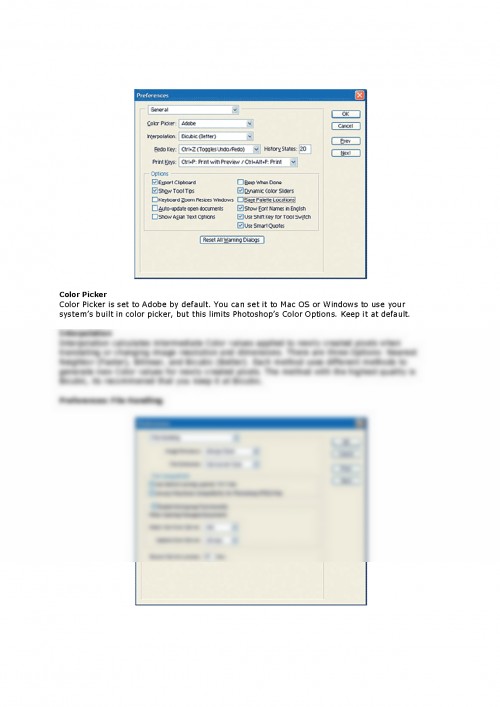
Preferences in Photoshop are used to further customize the Photoshop workspace and how it behaves. To access Preferences select Edit/Preferences/General. The Preferences dialog box appears. Preferences are divided into 8 categories. At this point, some of the Preferences may not be clear to you because they relate to concepts covered later in the book. At this point, we'll briefly discuss a few of the more important settings while ignoring some of the print specific and other Options.
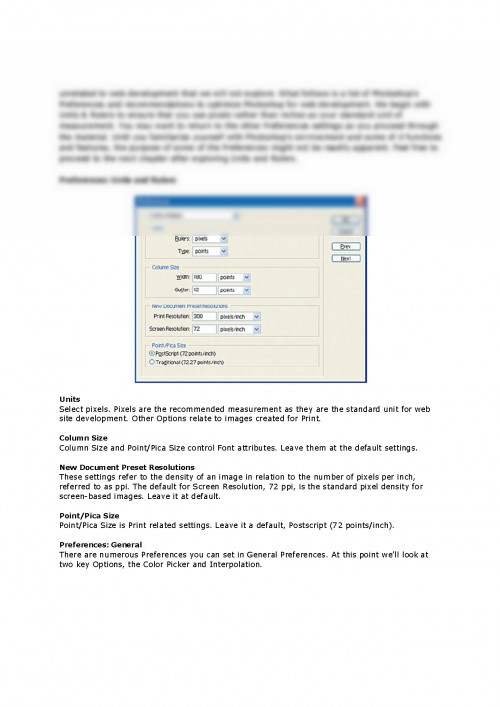
Customize or change your Preferences by selecting the Preference type from the dropdown menu (or press the Prev and Next buttons.) Photoshop currently has a number of Preferences unrelated to web development that we will not explore. What follows is a list of Photoshop's Preferences and recommendations to optimize Photoshop for web development. We begin with Units & Rulers to ensure that you use pixels rather than inches as your standard unit of measurement. You may want to return to the other Preferences settings as you proceed through the material. Until you familiarize yourself with Photoshop's environment and some of it functions and features, the purpose of some of the Preferences might not be readily apparent. Feel free to proceed to the next chapter after exploring Units and Rulers.
Preferences: Units and Rulers
Documentul este oferit gratuit,
trebuie doar să te autentifici in contul tău.